 EN
EN

A furniture quotation may show the right total while leaving its room allocation unclear. Several offices can request the same desk, a shared area may appear in two departmental lists, and one room may need a different storage arrangement. A room allocation schedule connects each required item to a defined location before those details are lost in a combined total.
Use it alongside the product specification and quotation. The method below is a blank buyer’s working template for desks, workstations, tables and storage. It is not a real customer project, an approved order or a promise that a pictured arrangement is supplied as one set.
1. Start with one list of locations
Give every room or shared zone a unique reference that matches the room plan. Record the building or floor where needed so that similar room names remain distinguishable. A name such as “manager office” describes a purpose but may not identify a single destination.
Include common storage areas, meeting rooms and reception separately. Assign shared furniture to the location where it is intended to stand, even when several departments will use it. Keep responsibility for reviewing that location visible, rather than copying the same furniture into each department’s request.
2. Separate the product definition from its allocation
Keep one product definition for each proposed model and configuration. Describe the quantity unit and the components included in that definition. Then create allocation lines showing where those defined items are required. A supplier model identifies the furniture; the room reference identifies its destination.
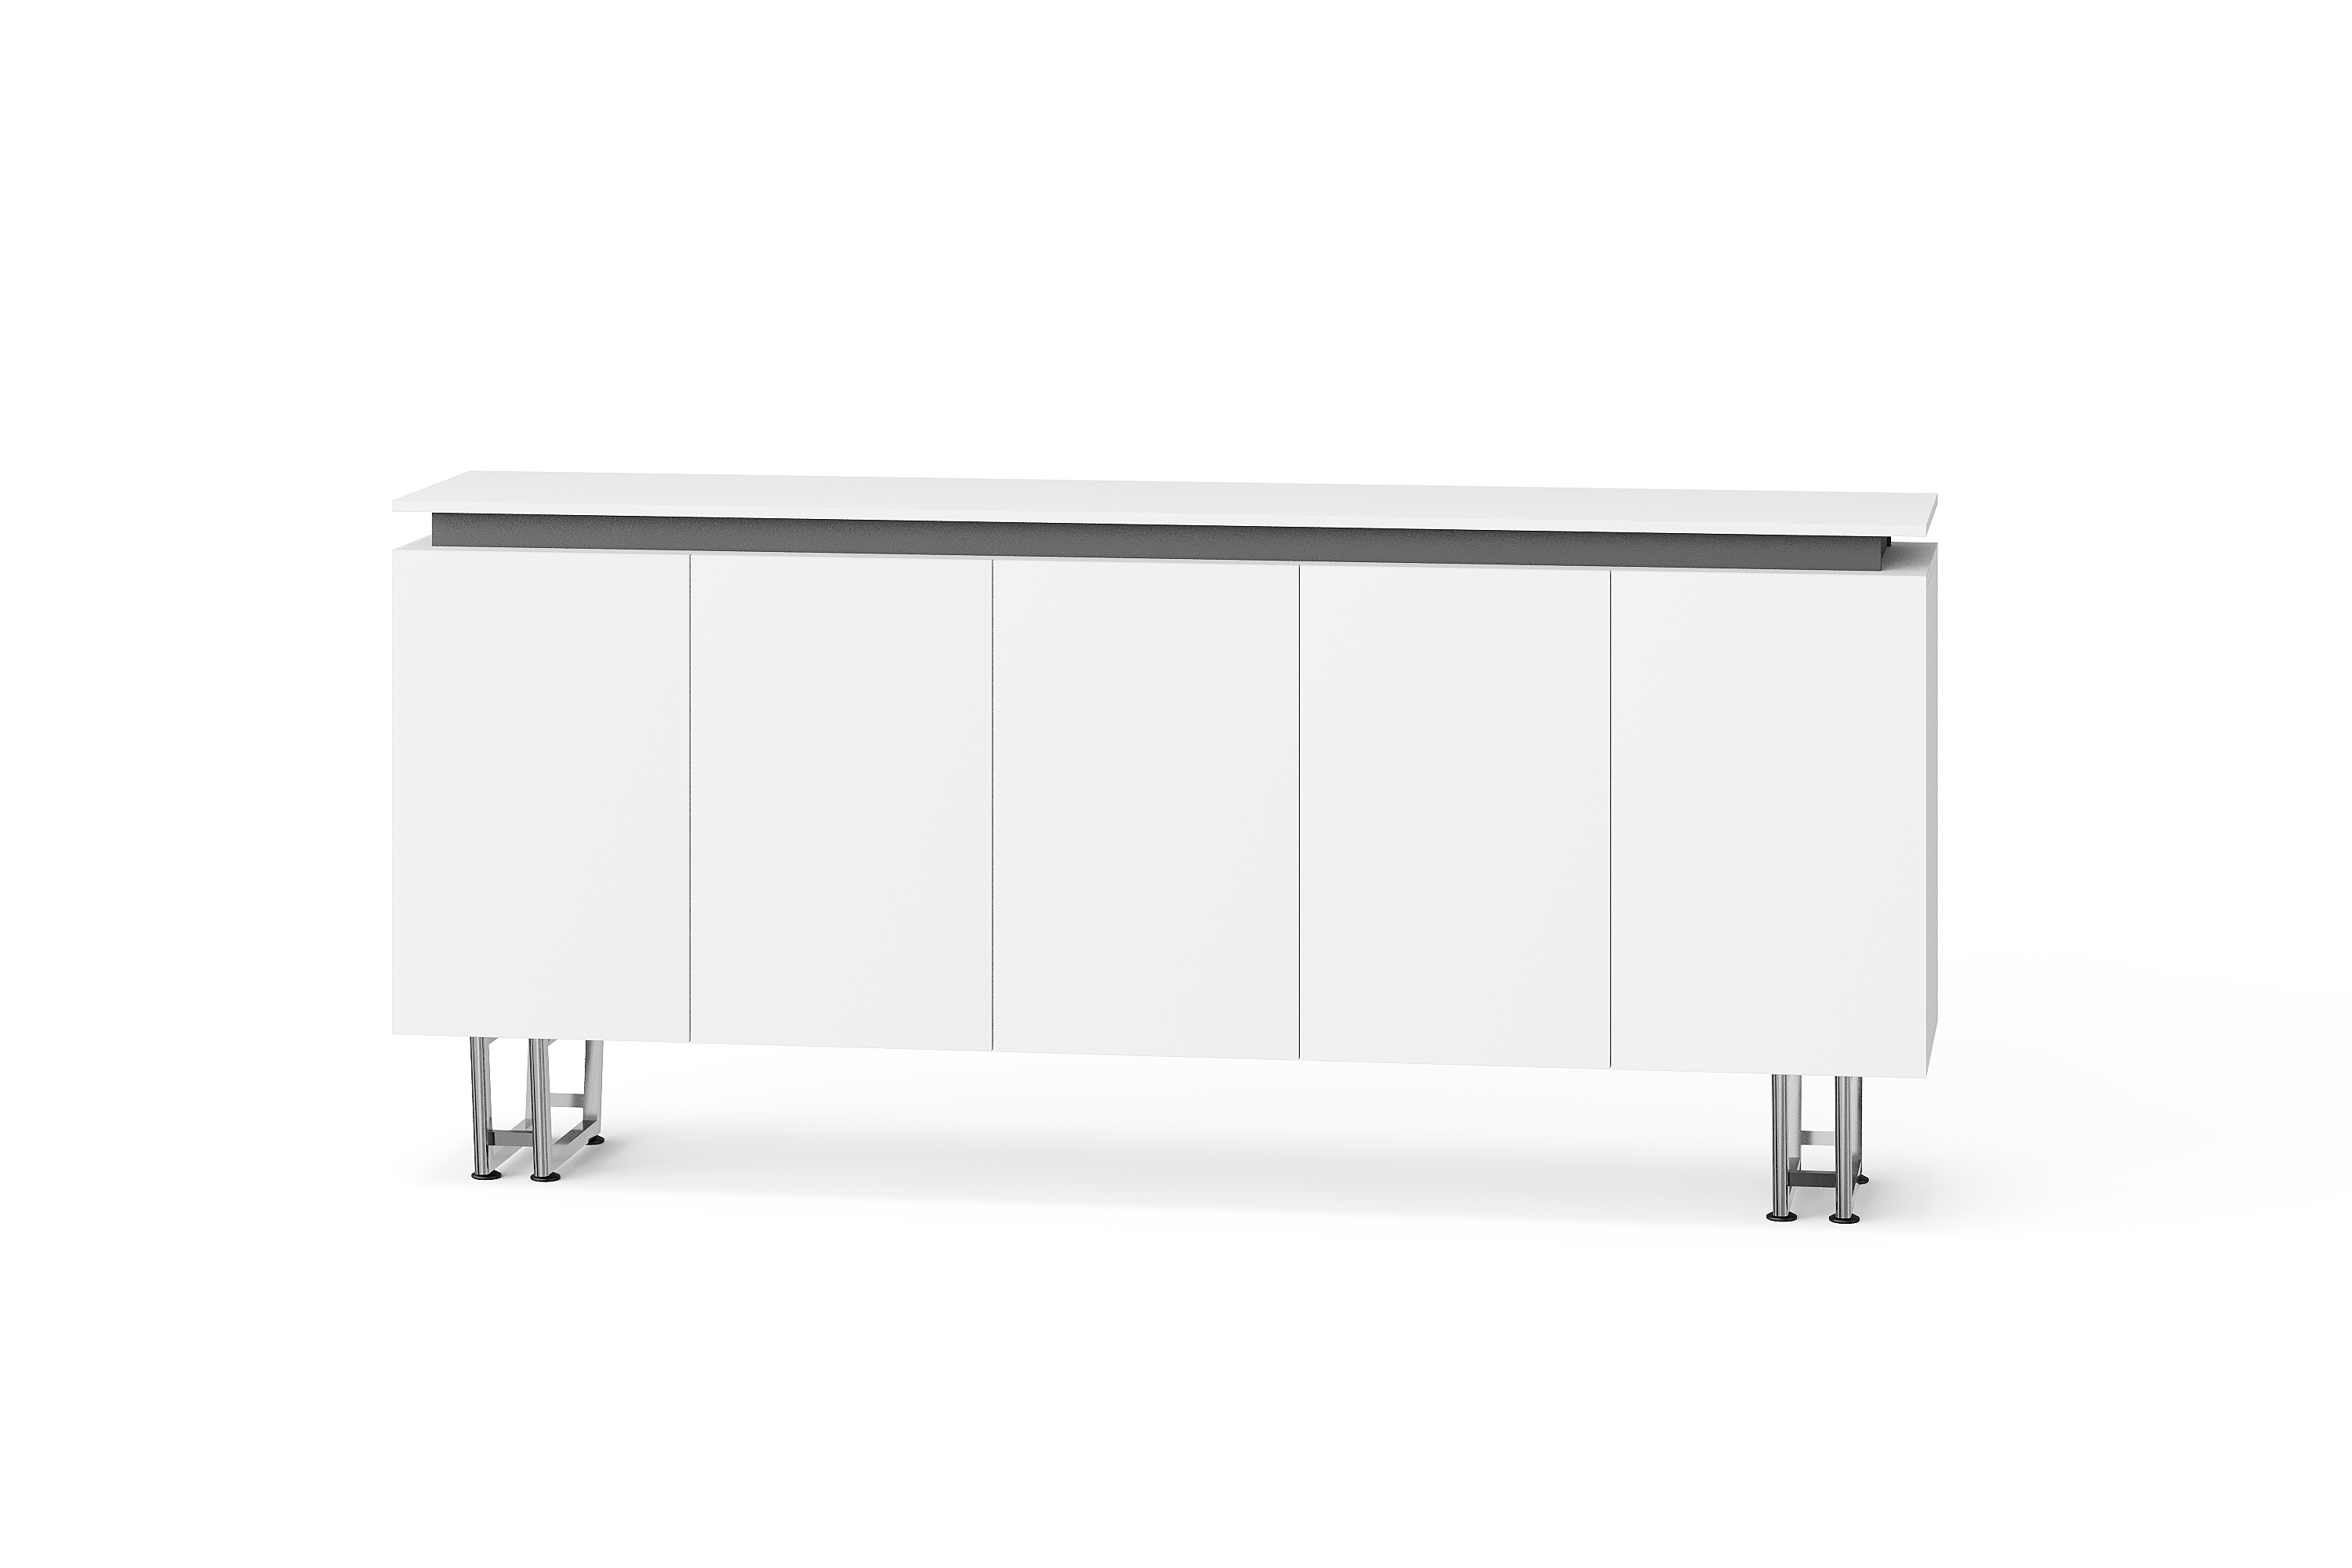
For example, a buyer could consider the BG-2605 executive desk and the BG-2624B low storage cabinet as separate product references. Their appearance together in a schedule would not establish a supplied set. Confirm each selected configuration and list its allocation separately; these are catalogue examples, not a customer order.
3. Complete one allocation record for each location and item
The compact form below describes one allocation line. Repeat it in your spreadsheet or room schedule for each location and defined item. Leave missing information visibly unresolved; do not fill a blank quantity with a guess or copy a size from another room.
| Allocation field | Entry to complete |
|---|---|
| Location reference | [Building/floor, room or shared-zone identifier] |
| Schedule item | [Your item reference and supplier model, if selected] |
| Defined configuration | [Linked specification; finish or orientation still to confirm] |
| Allocated quantity and unit | [Required number; identify what one unit contains] |
| Review status | [Reviewer; confirmed, provisional or question outstanding] |
Keep room-specific requirements beside the allocation. A left-side storage request in one office should not disappear when desks are grouped under a common model reference. Ask which differences require a separate quoted configuration.
4. Reconcile room allocations with the purchasing total
Total the allocation lines by the same defined item and unit, then compare that result with the requested purchase quantity. Check for an omitted room, a duplicated shared item or a line counted once as a group and again as its individual components.
Show any deliberately unallocated quantity separately and state its purpose. Do not distribute spare or undecided items across rooms simply to make the totals agree. Likewise, identify furniture being retained from an existing office separately from items that need a new quotation.
Keep alternatives outside the confirmed total until a choice is made. If two cabinet options serve the same location, marking both as required can accidentally double the request. Label the options and identify which decision is still needed.
5. Review each room before combining the enquiry
Ask the person responsible for each location to check the allocated items against the room plan and intended work. Confirm the dimensions and opening clearances relevant to that room; sharing a model with another office does not establish that it fits both spaces.
Send the supplier the combined product list and the room allocations together. Ask it to flag inconsistencies between them. If the allocation later changes, use the BOQ revision checklist to record the change without losing the location detail.
Buyer questions
Can one model appear in several rooms?
Yes, as separate allocations linked to the same confirmed product definition. Check whether finish, orientation or included components differ before combining the quantities for quotation.
Where should a cabinet shared by two departments appear?
Allocate it once to its intended shared location. Record the departments using it as a note, rather than adding the same cabinet to both purchasing lists.
What if the room destination has not been decided?
Keep the item in a clearly labelled unallocated section. State whether its quantity is confirmed or provisional and who needs to decide the destination.
Does a room allocation schedule replace a packing list?
No. It describes the buyer’s intended destinations. The supplier’s actual packing information is a separate record; connect the two only after the packing references are available and checked.
Send a schedule that explains both the total and the rooms
Contact BG Office Furniture with your product definitions, room allocation records and measured plan. Ask for confirmation of the proposed configurations and an itemised quotation. Keep unresolved room requirements visible so the combined total does not hide a decision that still needs to be made.
Table of Contents
- 1. Start with one list of locations
- 2. Separate the product definition from its allocation
- 3. Complete one allocation record for each location and item
- 4. Reconcile room allocations with the purchasing total
- 5. Review each room before combining the enquiry
- Buyer questions
- Send a schedule that explains both the total and the rooms